
????Sparkle & Shine: How to Rhinestone For Resale????
Is your dance costume in need of a dazzling makeover? If you’re looking to enhance your costume’s appeal and increase its resale value, rhinestoning is the way to go! In this blog post, we’ll guide you through the process of rhinestoning your dance costume, transforming it into a radiant masterpiece that’s sure to catch the eye of potential buyers. ✨????????????
Step 1: Gather Your Materials ????✂️
To get started, you’ll need a few essential materials:
- Rhinestones: Choose high-quality rhinestones in various sizes, shapes, and colors that complement your costume.
- Fabric Glue: Opt for a strong adhesive that is specifically designed for bonding rhinestones to fabric.
- Tweezers or Rhinestone Applicator: These tools will help you place the rhinestones precisely and securely on your costume.
- Wax Pencil or Toothpick: Use this to pick up and position the rhinestones.
Step 2: Plan Your Design ????????
Before diving into rhinestoning, plan your design on paper or digitally. Consider the areas you want to accentuate, the pattern you wish to create, and the color scheme that will best enhance your costume’s features. This step will help you visualize the final result and ensure a cohesive and aesthetically pleasing design. ✍️????
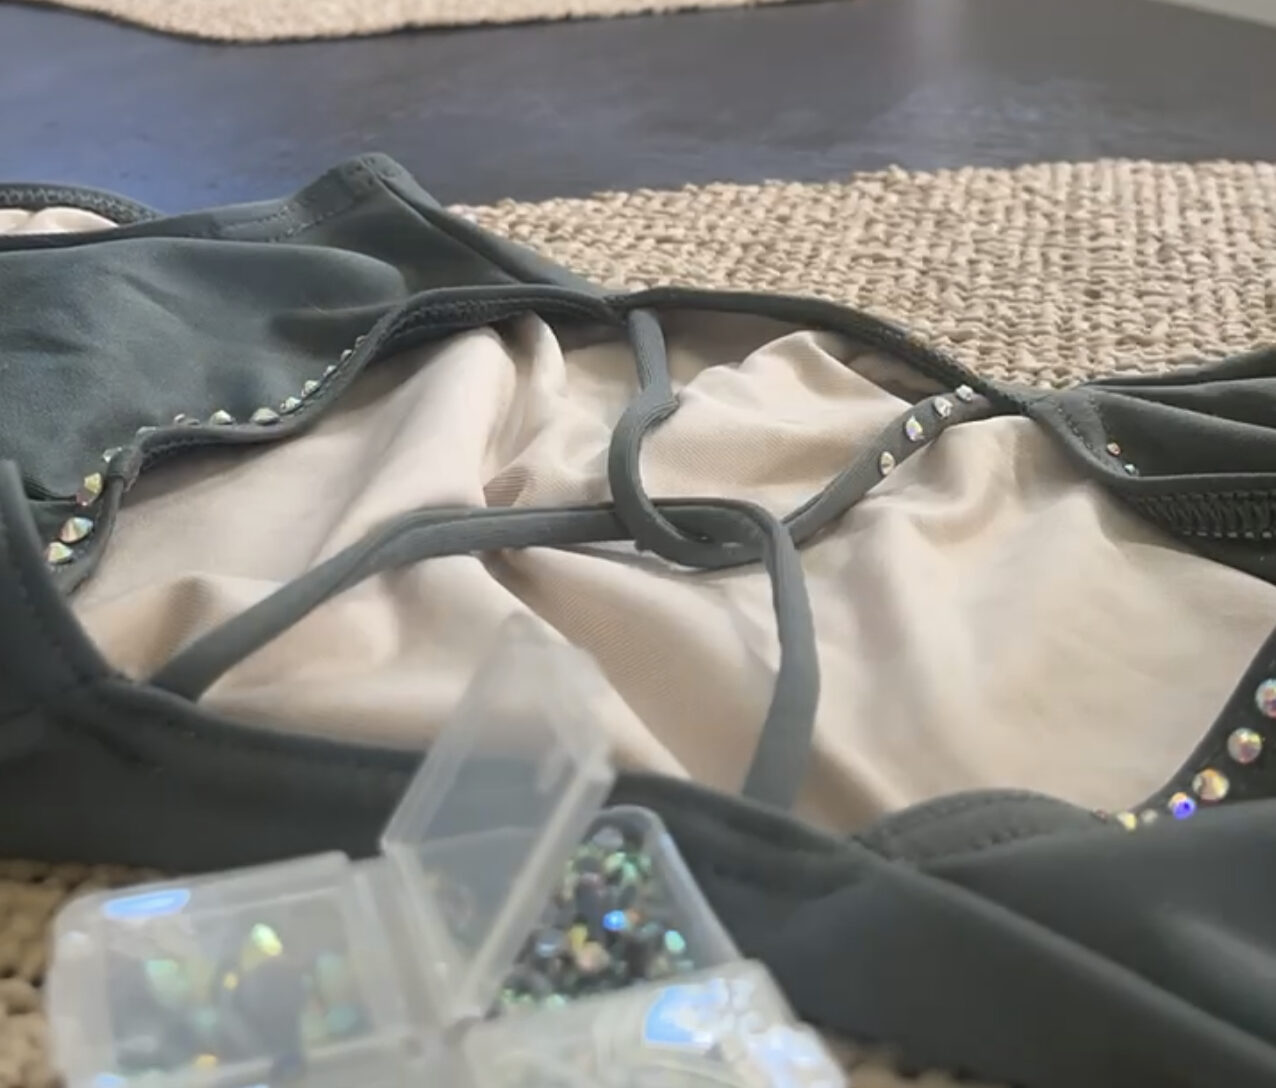
Step 3: Secure Your Costume ✂️????
Make sure your dance costume is clean and flat. Lay it on a smooth surface or use a dress form to secure it in place. This will provide stability and ease during the rhinestoning process. Smooth out any wrinkles or creases to ensure a flawless result.
Step 4: Glue and Place the Rhinestones ????????
Using your fabric glue, carefully apply a small amount to the back of each rhinestone. Use your tweezers or rhinestone applicator to place the rhinestones one by one on your costume, following your planned design. Use a wax pencil or toothpick to adjust their positions if necessary. Take your time and work methodically to achieve a professional-looking result.
Step 5: Allow Proper Drying Time ⏰????️
Once you’ve placed all the rhinestones, allow the fabric glue to dry completely according to the manufacturer’s instructions. It’s essential to give it enough time to ensure that the rhinestones are securely adhered to the costume. Avoid touching or moving the costume during this drying period.
Step 6: Inspect and Make Final Touches ✨????
Carefully examine your rhinestoned costume, ensuring that all rhinestones are firmly attached. If any rhinestones are loose, apply a tiny amount of fabric glue beneath them and press gently to secure them in place. Make any final adjustments to the placement or alignment of the rhinestones, ensuring they are symmetrical and visually appealing.
Conclusion:
Congratulations! You’ve successfully transformed your dance costume into a dazzling masterpiece through the art of rhinestoning. By following these steps and unleashing your creativity, you’ve not only enhanced the aesthetic appeal of your costume but also increased its resale value. Remember, attention to detail, patience, and a well-executed design can make all the difference. Now, your sparkling rhinestoned costume is ready to impress potential buyers and shine on the dance floor! ????✨????????